

How to Install .ZXP and .CCX Plugins Using the ZXP / UXP Installer (Windows & macOS). On our site, you will find premium resources for free, such as Courses, Mockups, Presets, Actions, Brushes & Gradients, VideoHive Templates, Fonts, LUTs, 3D Models, Plugins, Software, and much more. Getintomm.com is a free graphic and VFX content provider that supports beginner graphic designers with high-quality creative tools.
This short, practical guide shows how to install Adobe extensions packaged as .zxp (CEP) and .ccx/.ccx/.xdx (UXP/CCX) using the free ZXP / UXP Installer tools. Whether you use the aescripts + aeplugins ZXP/UXP Installer (recommended for ease) or the open-source ZXPInstaller, this article gives step-by-step installation, troubleshooting tips, and safe manual alternatives.
ZXP / UXP Installer Overview
ZXP / UXP Installer is a free and easy-to-use application that helps you install Adobe plugins packaged as .zxp (for CEP extensions) and .ccx (for UXP extensions). It supports popular Adobe apps like Photoshop, After Effects, Premiere Pro, Illustrator, and more.
Whether you are a beginner or a professional, this tool makes plugin installation fast and hassle-free. It’s perfect for installing creative tools like the Nano Banana AI Photoshop Plugin or the Nik Collection by DxO directly into your Adobe apps without errors or manual steps.
Instead of manually copying files into Adobe folders, ZXP / UXP Installer allows you to simply drag and drop your plugin file into the installer window. It automatically places everything in the correct directory so you can start using your plugin right away. It also works on both Windows and macOS, providing a smooth installation process for all Adobe Creative Cloud users.
ZXP / UXP Installer Feature
- Drag & drop installation for .zxp and .ccx/.ccx files (easy GUI).
- Support for current Adobe hosts (Photoshop, After Effects, Premiere Pro, Illustrator, Audition, Media Encoder).
- Fallback/custom install options for stubborn extensions.
- Command-line install options available for UXP (.ccx) via Adobe’s Unified Plugin Installer Agent (UPIA) for advanced users and deployments.
System Requirements
- Windows 10 / 11 or macOS (check specific installer build for Intel/Apple Silicon support)
- Adobe Creative Cloud Desktop app (recommended) for UXP plugin management; for some UXP installs CCD v5.7+ may be required for command-line UPIA
- Administrator privileges for system-wide installs (Windows) or user permission to write to Adobe extension folders (macOS).
How to Install ZXP or UXP Plugins Easily
- Download the Installer : Go to the official ZXP/UXP Installer website (from aescripts + aeplugins) and download the app for your system — Windows or macOS.
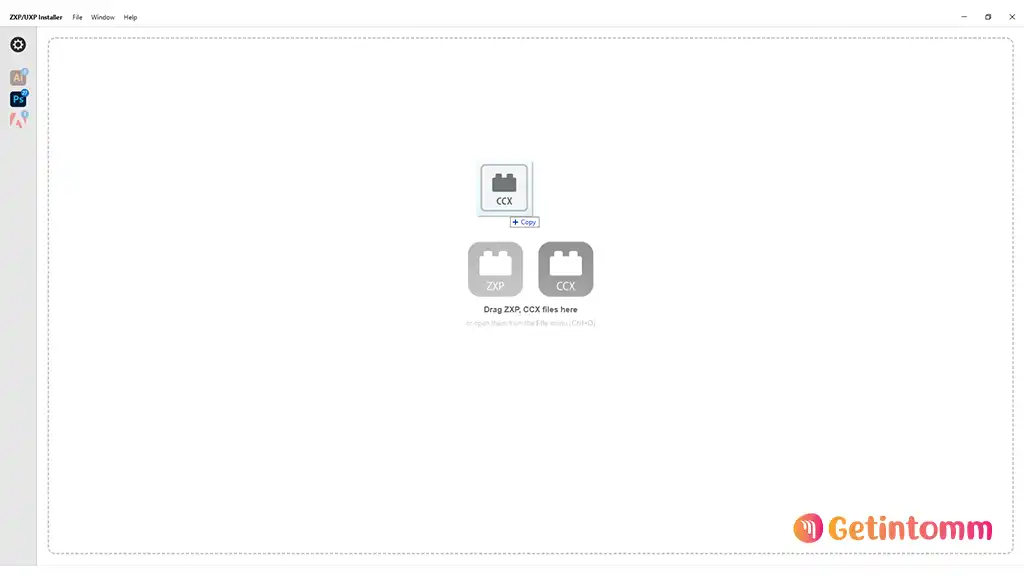
- Open the Installer App : After downloading, open the installer. You’ll see a simple window that says: “Drag and drop .zxp or .ccx files here.”
- Drag & Drop Your Plugin : Find your plugin file (example: plugin.zxp or plugin.ccx) and drag it into the installer window.
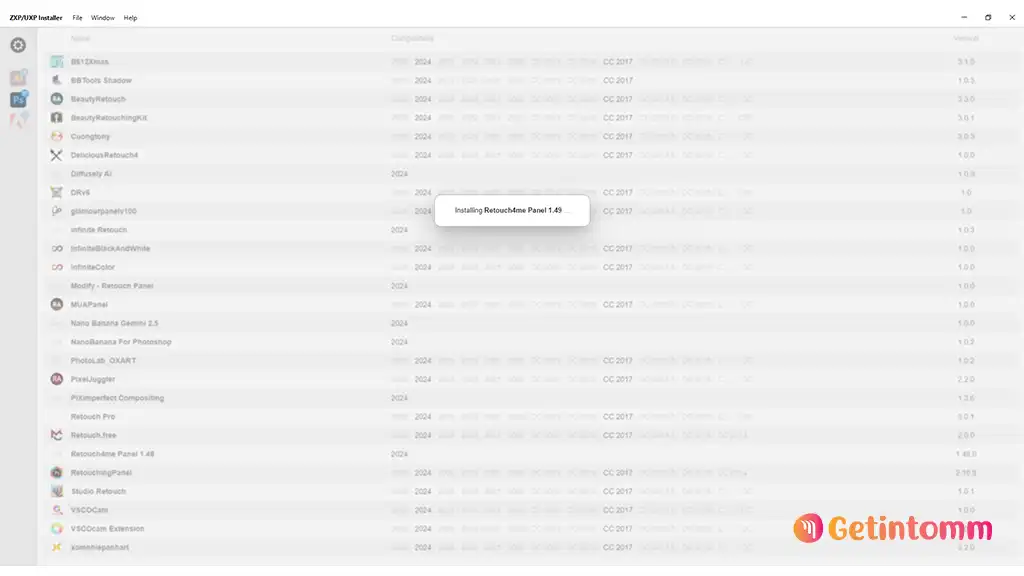
- Wait for Installation : The installer will automatically install the plugin into the correct Adobe folder. Wait until it shows
- Installation Complete.
- Restart Your Adobe App : Close and reopen Photoshop, After Effects, or whichever Adobe app you’re using. The new plugin should appear in the “Plugins” or “Extensions” menu.
Tip:
If you have installation issues, right-click the installer and choose “Run as Administrator” (Windows) or “Allow from Security Settings” (macOS).


